Using the Photo Panel
Photos can be added to your project at any point in the creation process. You can add photos:
- At the beginning of the project when you are stepping through the Create Project Wizard
- In the middle of the project, downloading photos from your computer as you go
- Both at the beginning and add as you go
Once a photo is added to your project, you can use the Photo Panel to view, sort, add, or remove photos from your project.

|
Panel Control |
Description |
|---|---|
| Get photos |
Access a File Open dialog box to search your computer for more photos.
|
| Arrange |
Allows you to sort your photos manually—click and drag each photo to arrange. Or allows you to arrange by date/time the photo was taken—earliest first or latest first. |
| Show | Allows you to control which photos you are viewing. This option is helpful if you are working on a large photo book with many pictures, as you can choose to show all photos, photos not used, and photos already used. If you are working on a large poster collage, showing photos on this page is helpful. |
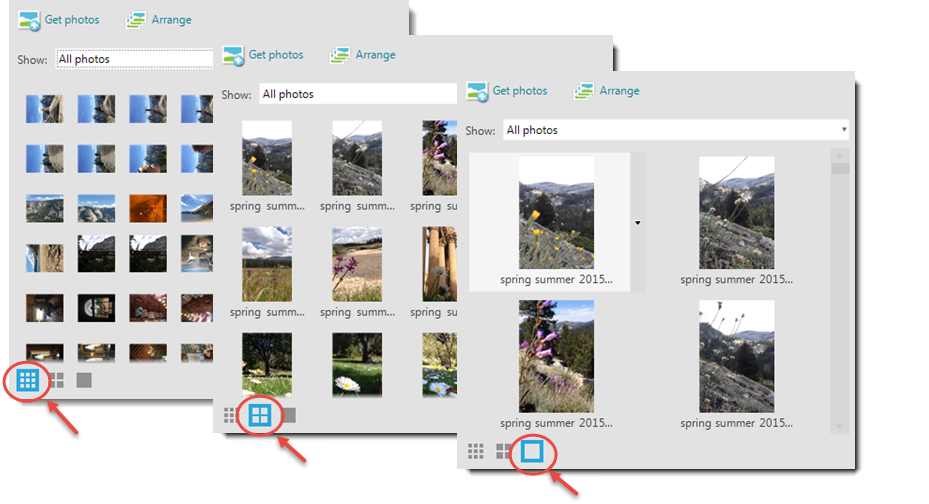
| Thumbnail Sizes |
Click on the icons to increase or decrease the thumbnail size of the photos.
|
Note: For a nice magnified view of a single photo, hover the mouse pointer over the photo. You will also see file details related to the photo.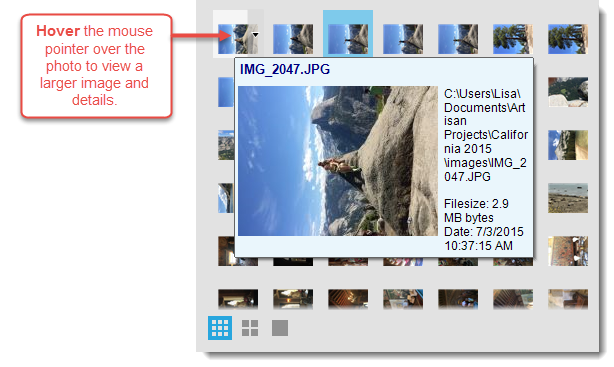
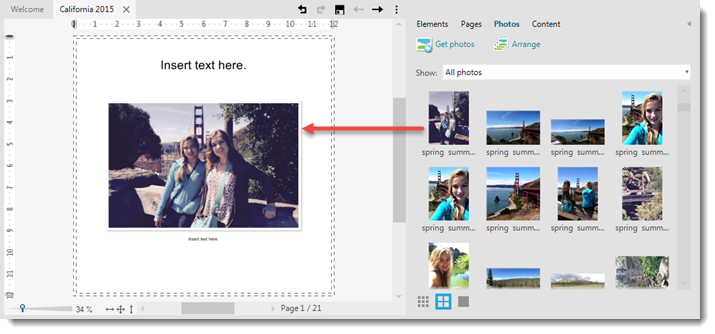
Placing Photos with Drag and Drop
Once a photo is part of your project, you can drag and drop a copy of it to any page in your project.
To place a photo using drag and drop, follow these steps:
- Open the target page on your workspace.
- (Optional) Insert, place, and size the frame on your page (see Working with Frames and Mats for more information on frames).

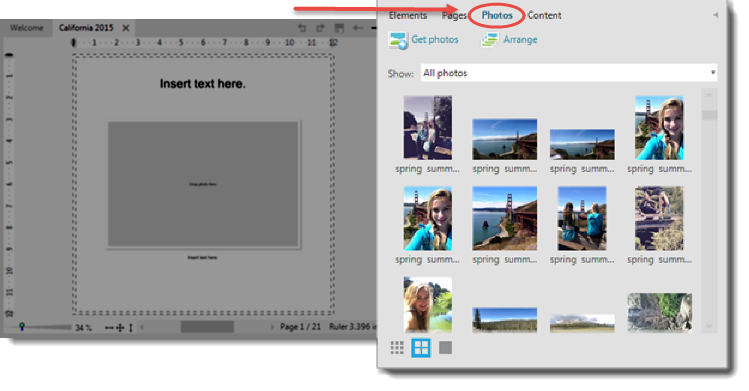
- Click the Photos tab to the right of your workspace to open the Photos Panel.

- Use the scroll bar to scroll through your photos.
- Click and drag the desired photo from the Photos Panel to the page—or to the frame.
The photo is placed.
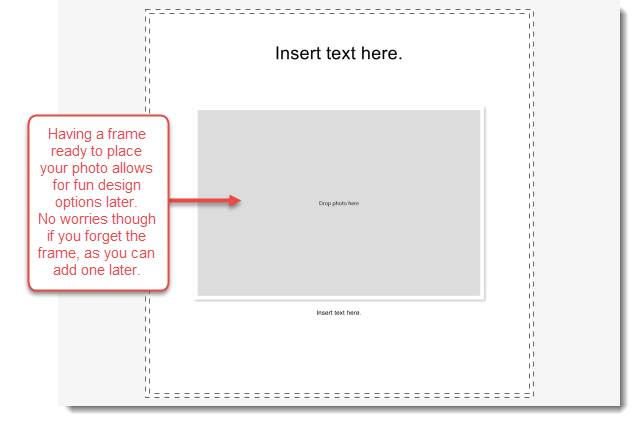
Note: One of the benefits of using a frame is that Artisan will automatically center and size the photo. You can resize, rearrange, and rotate the photo using the handles. You can also make changes like cropping, changing the colors, applying fun filters, etc. See various sections of Working with Photos and Images for more information.
Adding More Photos
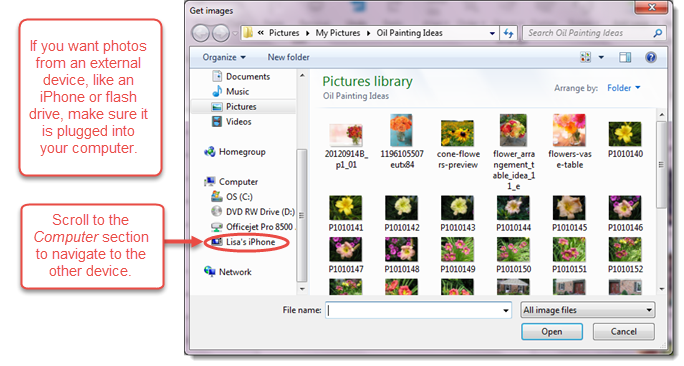
You can add more photos to your Photo Panel so that they are ready at your "fingertips" within the project. This is helpful, for instance, if you want to grab some shots from your daughter's iPhone after you already started your project!
To add more photos to your Photo Panel, follow these steps:
- With the Photo Panel open, click
 in the upper left corner, then From my computer.
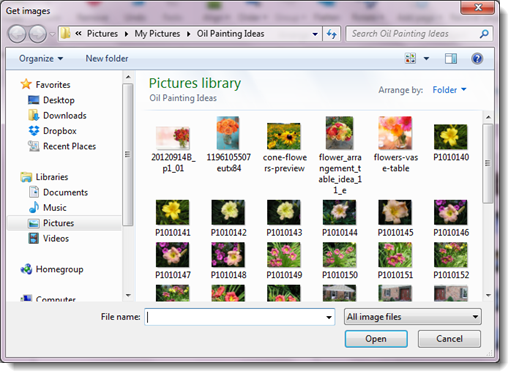
The File Open dialog box appears.
- Search for the location of the photos you want, then select them (use the SHIFT or CTRL keys to multi-select).
- Click Open.
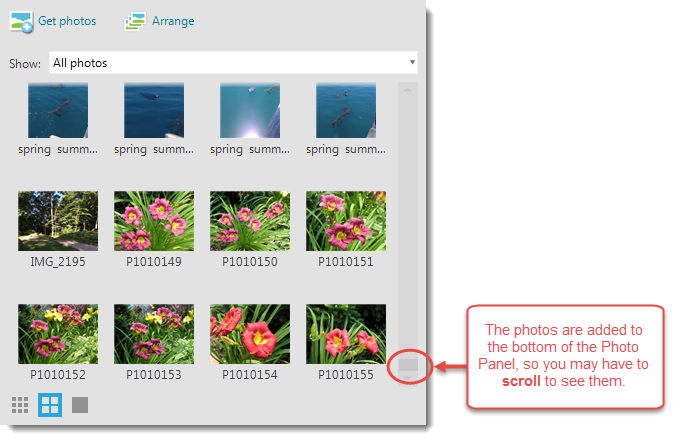
The photos are added to your Photo Panel and are ready to be placed in your project.
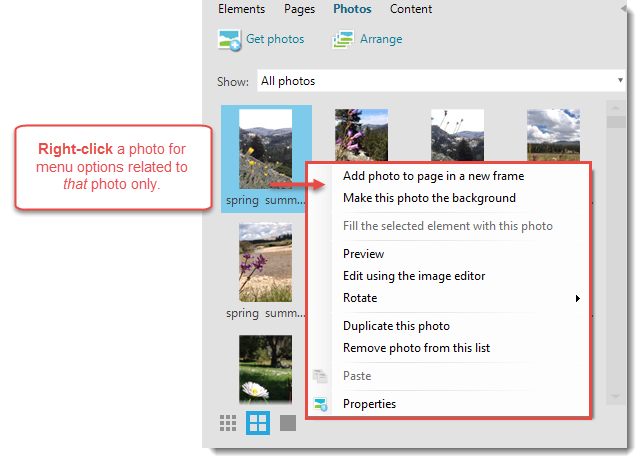
Using the Short-Cut Menu
There are a variety of other actions you can perform within the Photo Panel. Select a photo and right-click to see the Short-Cut Menu options.
|
Menu Option |
Description |
|---|---|
| Add photo to page in a new frame | Adds the photo to the open page in a frame. The orientation (landscape or portrait) will be decided automatically based on the photo orientation.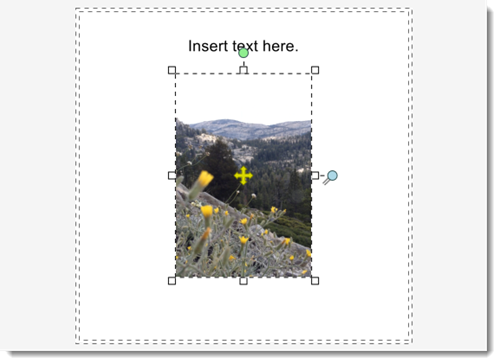 |
| Make this photo the background |
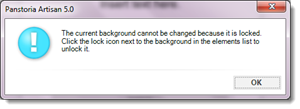
Fills the whole page with the photo. You can then add some fun effects to the photo to make it "fade away" for a designer look. See Adjusting Color and Light or Applying Filters for more information. Note: if your background is locked, you will receive the following message: Just follow the instructions for unlocking the background on the Elements Panel, and try again. |
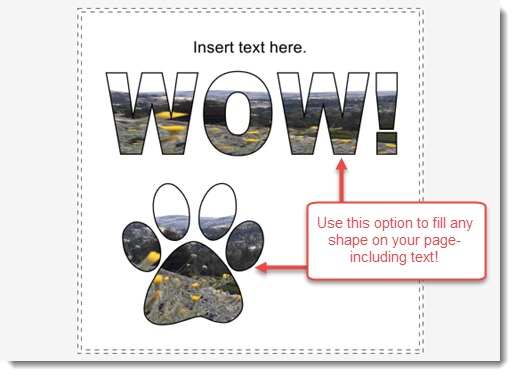
| Fill the selected element with this photo |
You must have an element on the page selected for this menu option to be enabled. The selected element will fill with the photo. |
| Preview | Provides a closer look at your photo in a preview window.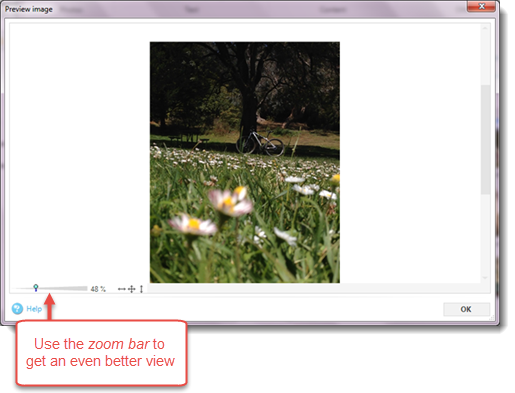 |
| Edit using the Image Editor | Invokes the Image Editor, allowing you to make adjustments to the photo.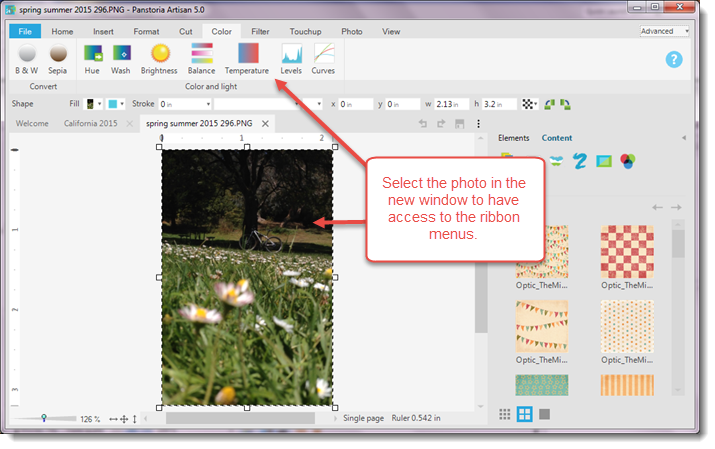 See various topics in the Working with Photos and Images for more information. |
| Rotate | Allows you to rotate the photo in the Photo Panel.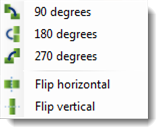 |
| Duplicate this photo | Makes a copy of the photo and places the copy at the bottom of the Photo Panel.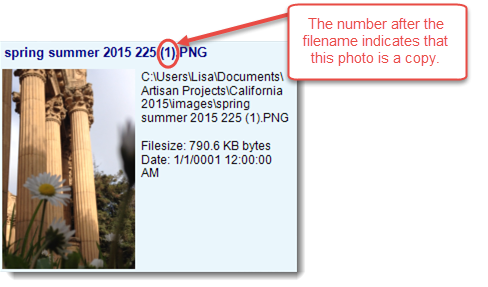 |
| Remove photo from this list | Removes the photo from the Photo Panel. |
| Paste | Allows you to paste a photo from the Windows Clipboard (if you copied a photo from somewhere else). |
| Properties | Displays a dialog box with more than information than you probably want to know about the photo!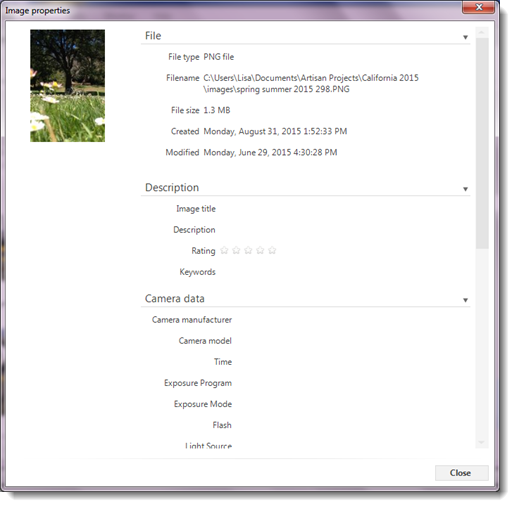 |